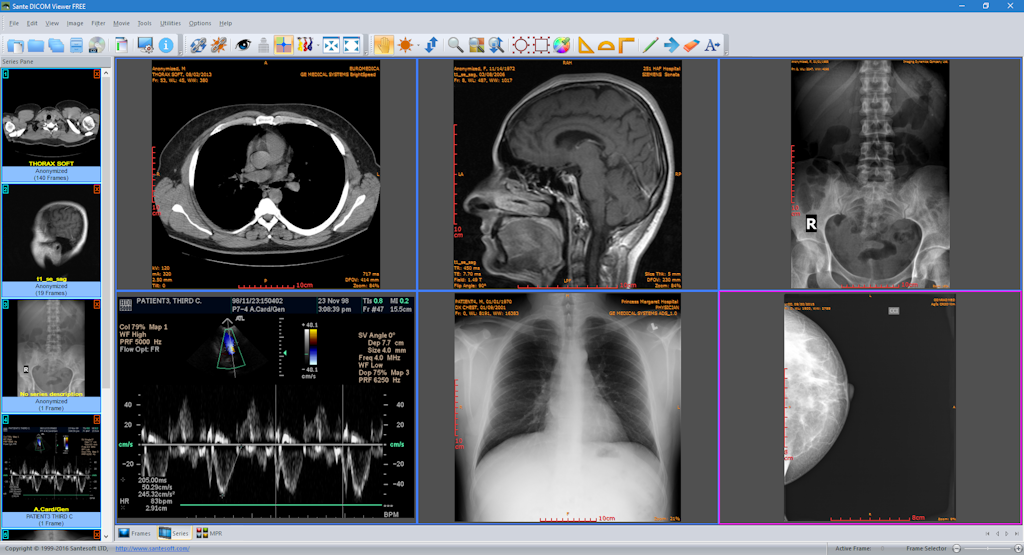
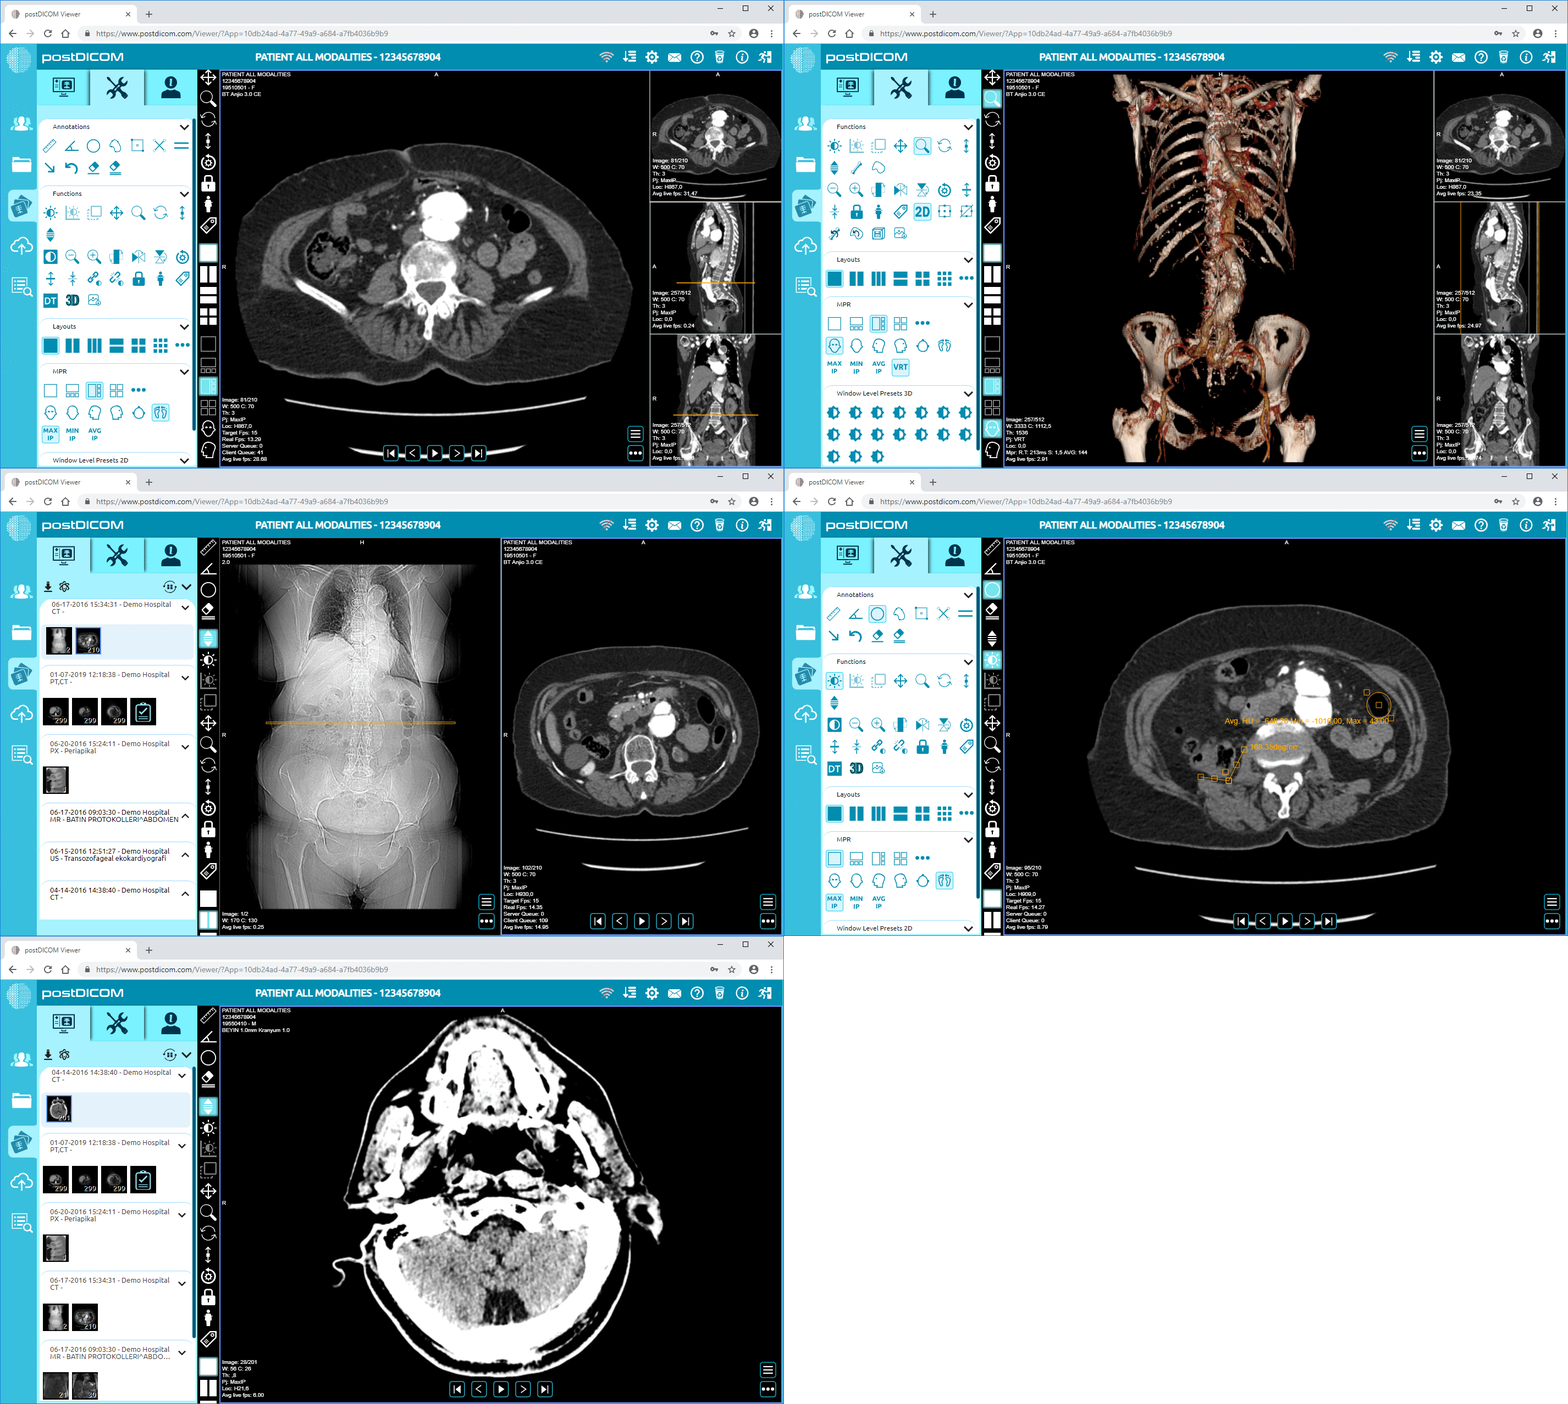
Medical imaging data, such as X-rays, MRIs, and CT scans, are essential tools for patient diagnosis and treatment planning.
Doctors can utilize specialized DICOM viewer PACS to visualize these complex studies and analyze findings through advanced post-processing features.
However, these medical images are not stored locally. Instead, they are housed within a hospital’s PACS server to enable centralized archiving and distribution across departments.
Successfully connecting an external DICOM viewer requires network access, authentication, and regulated usage permissions.
Prerequisites
Before connecting, ensure:
- You have a compatible DICOM viewer application installed on your hospital computer/workstation
- Your viewer supports the DICOM standard for communication
- You have authorization and login credentials for the hospital PACS
- Your hospital IT team approves the external software usage
Confirm these elements are in place before attempting to interface your viewer.
Configure DICOM Settings
Once access is authorized, properly configure your viewer’s DICOM settings to query, retrieve, and interpret data from the PACS:
1. Enter the Hostname/IP Address
Provide your hospital PACS server’s location on the network, either by:
- Hostname e.g., pacs.hospital-networks.com
- IP Address e.g. 10.8.0.5
Consult your IT team for this address.
2. Set the DICOM Port
Applications access PACS systems via a standard DICOM communication port:
- Typically 104, but can vary by hospital -non-standard ports may require SSL encryption
3. Set Transfer Syntax
Determines encoding of images transmitted:
- Consult your IT team on transfer syntax
- Often Implicit VR Little Endian
4. Enter Login Credentials
- Provide authorized username and passwords
- Credentials determine your access level to studies
5. Set Application Entity Title
- Unique name identifying your DICOM application
- Enables routing images correctly
- Often auto-generated or your username
Save settings once fully configured using the right syntax.

Validate and Test Connection
Before launching into full usage, validate communications and connectivity between your DICOM viewer and the PACS system through testing:
1. Confirm proper handshaking- Verify that an association between the viewer and PACS can be established.
2. Transmit test images- Send and receive sample DICOM images or datasets, ensuring proper transmission.
3. Check study querying- Query the PACS for a sample study to confirm images and data can be properly retrieved and displayed.
4. Validate user permissions- Confirm your login credentials and provide your approved level of study access/usage privileges.
Identify and troubleshoot any connection issues before relying on the viewer clinically.
Next Steps
Once fully integrated with the hospital PACS, additional configuration steps enable specialized usage:
- Modality workflows to handle ultrasound, nuclear medicine, endoscopy studies, etc.
- Hotkey/macro tools to boost efficiency
- Advanced visualizations like 3D or PET/CT
- Structured reporting for output back into the PACS
- Privilege restrictions to limit residents or students
Your hospital IT team can provide further support in unlocking your DICOM viewer’s full capabilities now that core viewing integration is established.


